Skip to content

Component Information

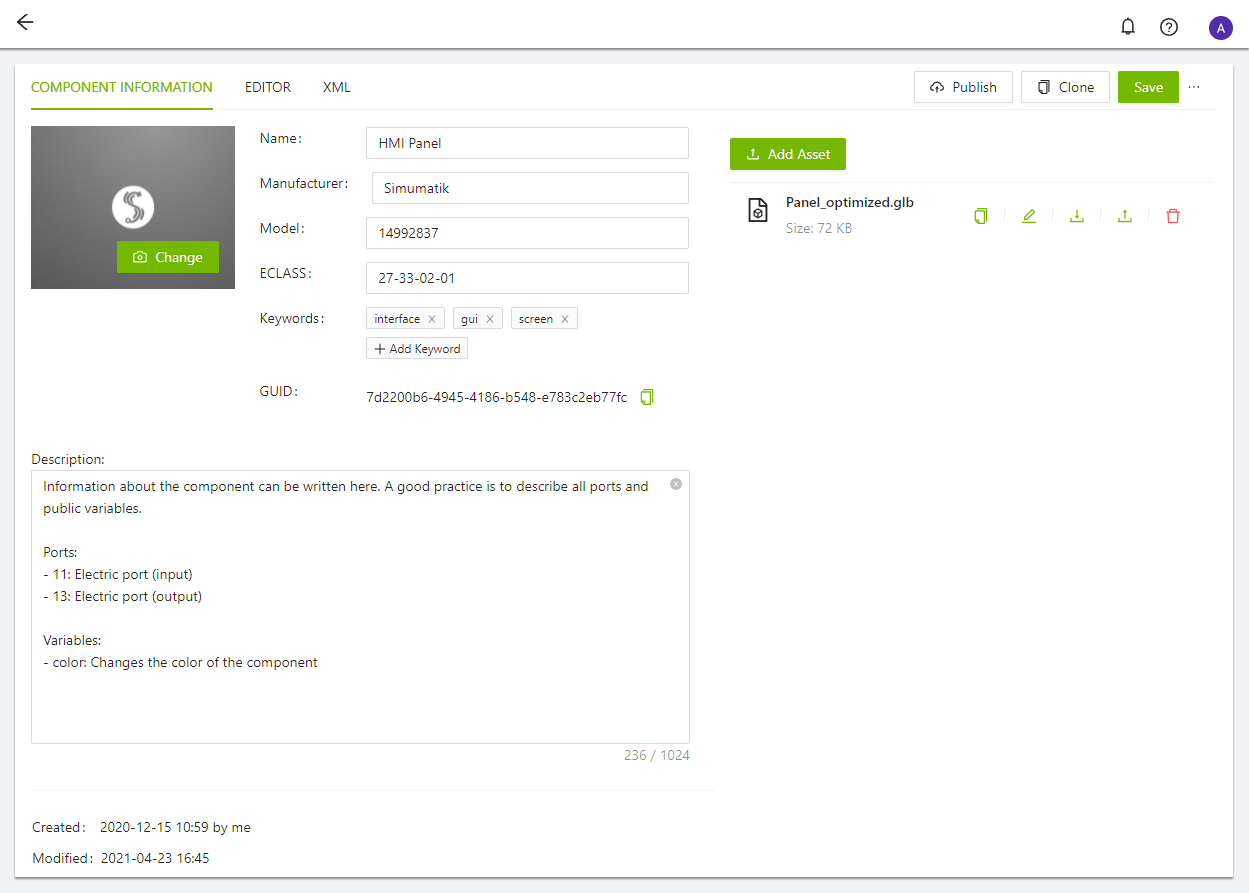
When you open any component, the first page shown is the Component Information, which includes the metadata and the assets.

Metadata

The metadata you can modify includes the following fields:

  • Name: The component's name.
  • Manufacturer: The manufacturer or vendor who made the real component.
  • Model: Specific product information, such as it's unique model id.
  • E-class: E-class ID, according to the official standard.
  • Keywords: Keywords used for classification or categories.
  • GUID: Read-only unique ID used to identify the component.
  • Description: General information about the component and it's ports/variables.

alt text

Once you have finished modifying the metadata, click on the Save button.

alt text

Assets

Assets are elements that we want to include within our components. They could provide extra information about it, for example a pdf with instructions or a showcase video, or they could be used for building the components, such as scripts, 3d models, textures and more.

Uploading

To include assets in your component, click on the Add Asset button, located at the top-right corner.

alt text

Once you've picked an asset and uploaded it, it will show up in the list:

alt text

Renaming

Assets can be renamed by clicking the pen icon, opening a modal where you can enter a new name. Once you've entered a new name for the asset, click on OK to confirm.

alt text

alt text

Downloading

Assets can be downloaded by pressing the icon showed in the image below.

alt text

Replacing

The asset file can be replaced by pressing the upload icon and selecting the new file. Note that you can only replace assets with files of the same file-type.

alt text

Deleting

To remove an asset, press the delete icon. A confirmation window will be shown before deleting.

alt text