PRODUCT ENTRY
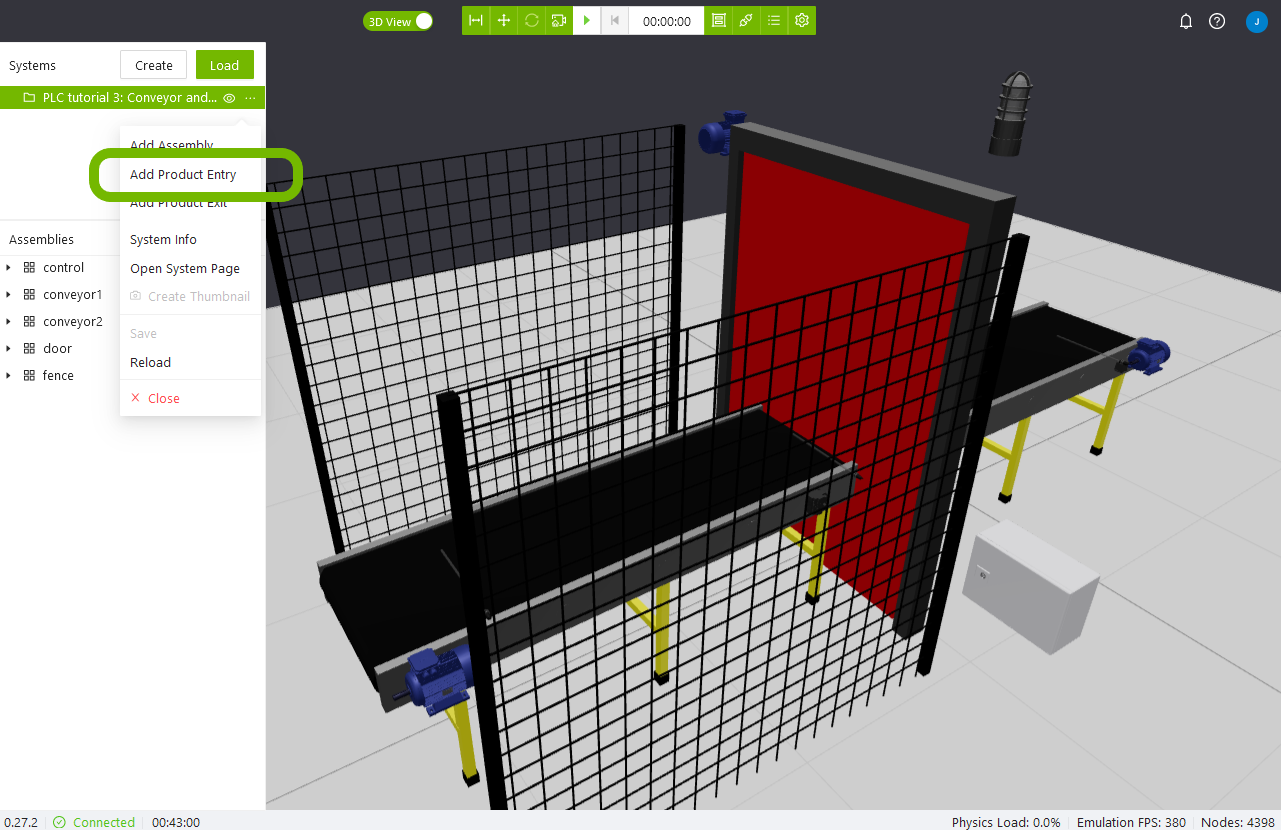
The product entry is used for adding products into the system while the emulation is running. To create a new product entry, click on the three dots next to any system in the top left panel, then click on the Add Product Entry button. Pick a name for this new element.
Properties
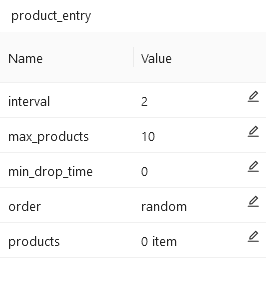
In the system tab, you can click on the product entry created to display its properties on the top right panel. There, you will be able to change the following properties:
- interval: Time in seconds between every product drop, if set to zero no product will spawn automatically.
- max_products: Maximum number of products, new products will not be dropped if this limit is reached.
- min_drop_time: Defines the minimum time in seconds between manual drops of products. A value of 0 deactivates the function.
- order: Drop products either randomly or in a sequence.
- products: A list of the products that will be dropped.
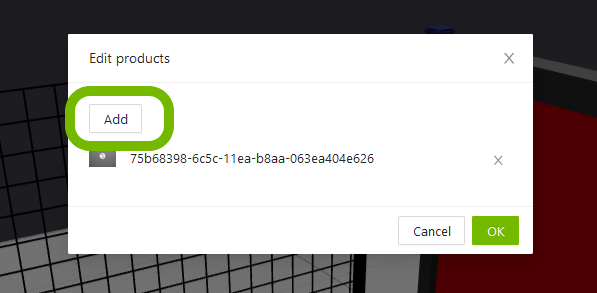
In order to change the dropping list, click on the “products” pen icon. A modal will be shown where you can add or remove the products.
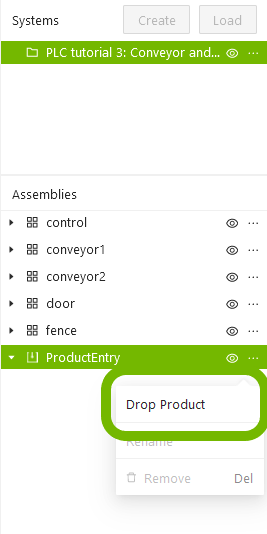
Drop products manually
While the emulation is active, you can manually drop items by right clicking the product entry component and clicking on drop. If an interval is specified, this will be automatically done. In the workspace, the product will appear just below the product entry component, which is displayed as a small blue cone. Products are susceptible to the min drop time parameter specified in the product properties.
Tip
Another way of dropping products manually is to connect the product entry to a button, and using the voltage input as described below.
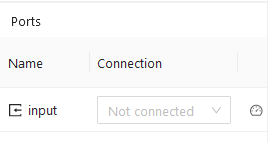
Voltage input
The "input" port can be used to drop products by using an electric signal. This makes it possible to control the product entry with a PLC or a button for example.