Organization
Activation
To use Simumatik within your school/company, the first step is to create an organization that will hold the different users. In order to do so, you can ask for a quotation in the get a quotation page.
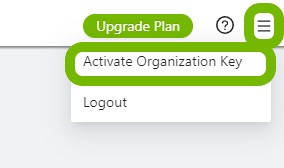
Once you are ready to buy the subscription, you will receive a serial key to enable the organization. First, log in with your personal account to the Simumatik app. Then click on the hamburger menu and click on Activate Organization key.
A modal will be shown where you can enter your serial-key. After creating the organization, your account will be added as an admin, in order to allow you inviting other users and individually control their permissions.

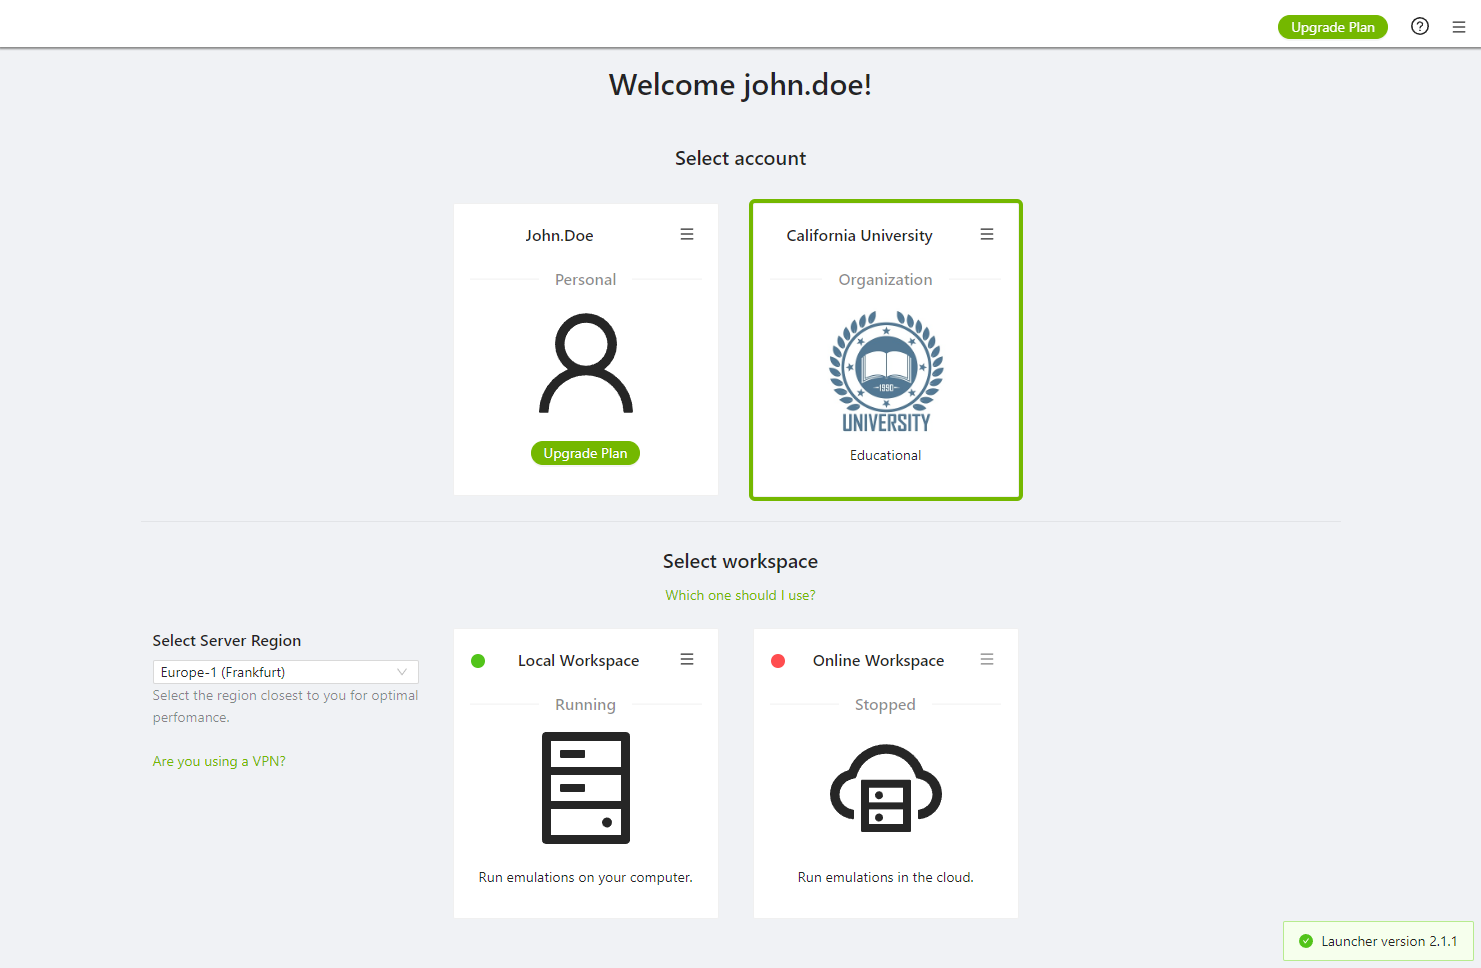
Every personal account has its own plan, and can also be part of one or several organizations. All the content created within the organization is shared between its participants. On log in, you can choose if you want to work on your personal space or within an organization if available:
-
When working with your personal space, the content you create is yours and it can't be accessed by anyone else. Your benefits will depend on your personal plan.
-
When working within an organization, your account inherits all the organization benefits. However, your permissions can be limited by the administrators.
Member management
When the organization is created your account will be the administrator of that organization so that you can add other users to the organization account and manage their individual access rights.
Every personal Simumatik account can be a member of one or more organizations. When working within an organization, the personal account inherits all the features of the organization's subscription. All created systems and components created within an organization is shared between the organization members. The access rights however can be limited by the administrators of the organization.
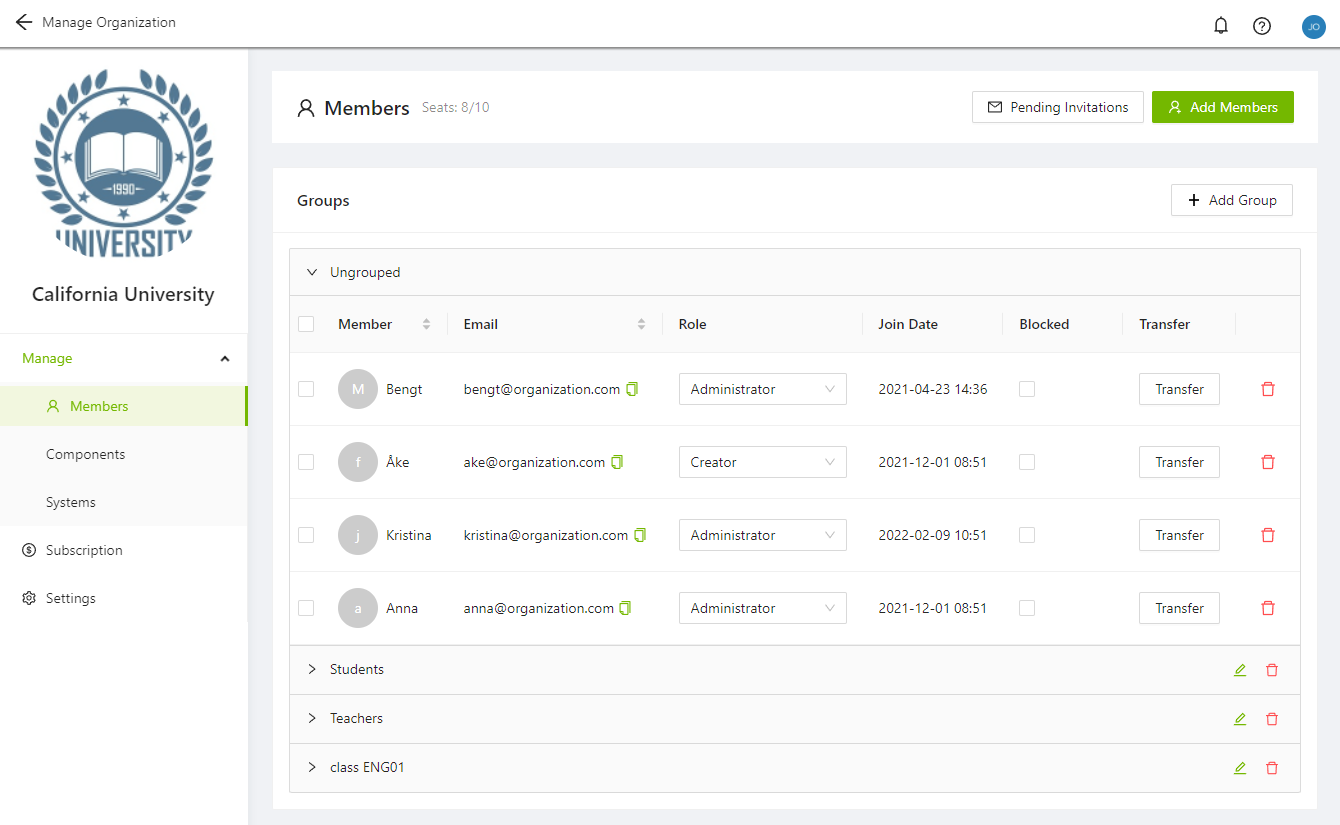
All members that have the access role manager or administrator can access the administration panel. To see the panel press administration in the menu for the organization.

On the administration page, you can change the current organization members access roles and add new or remove members. All users are sorted into groups, which can be managed when adding members or by pressing Transfer.
Access roles
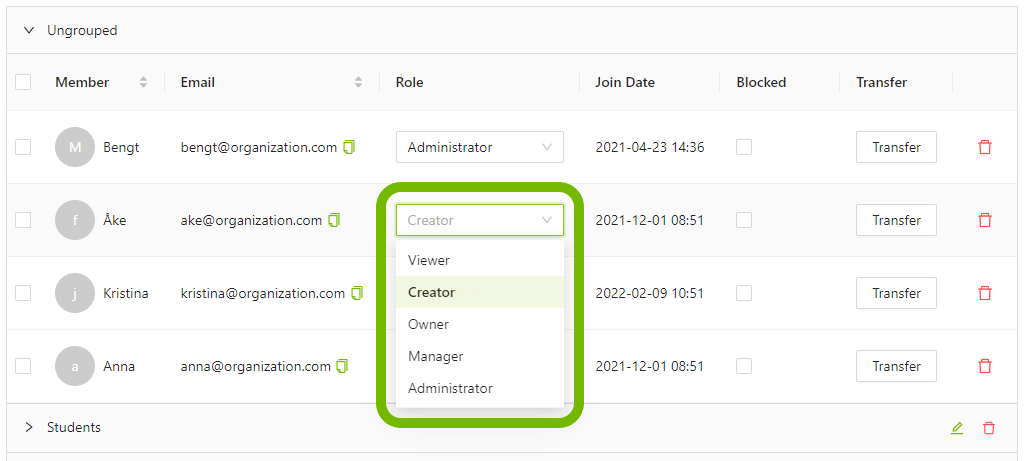
To change the access roles, open the drop-down menu for the user and select a category. These changes are automatically saved. The different categories are explained further down.
Viewer
This role is read-only, meaning that systems, libraries, and components can be opened and viewed. Viewers can not create new systems or components. It is possible for Viewers to make some changes to systems that are opened, but without the ability of saving those changes. This is the default permission that new users get when added to an organization.
Creator
This role makes it possible to create and edit components and systems. It does not make it possible to edit content created by another user.
Owner
This role makes it possible to delete content created by the user itself. It does not make it possible to delete content made by other users.
Manager
This role gives access to the administrator panel and allows adding and removing users from the organization, as well as changing roles for users. It does not let the user set the role of Administrator for itself or another user.
Administrator
Users with this role has all the permissions of the other roles defined above. This role also gives the ability the edit and remove any content within the organization. This role can only be given by other users with the Administrator role.
Tip
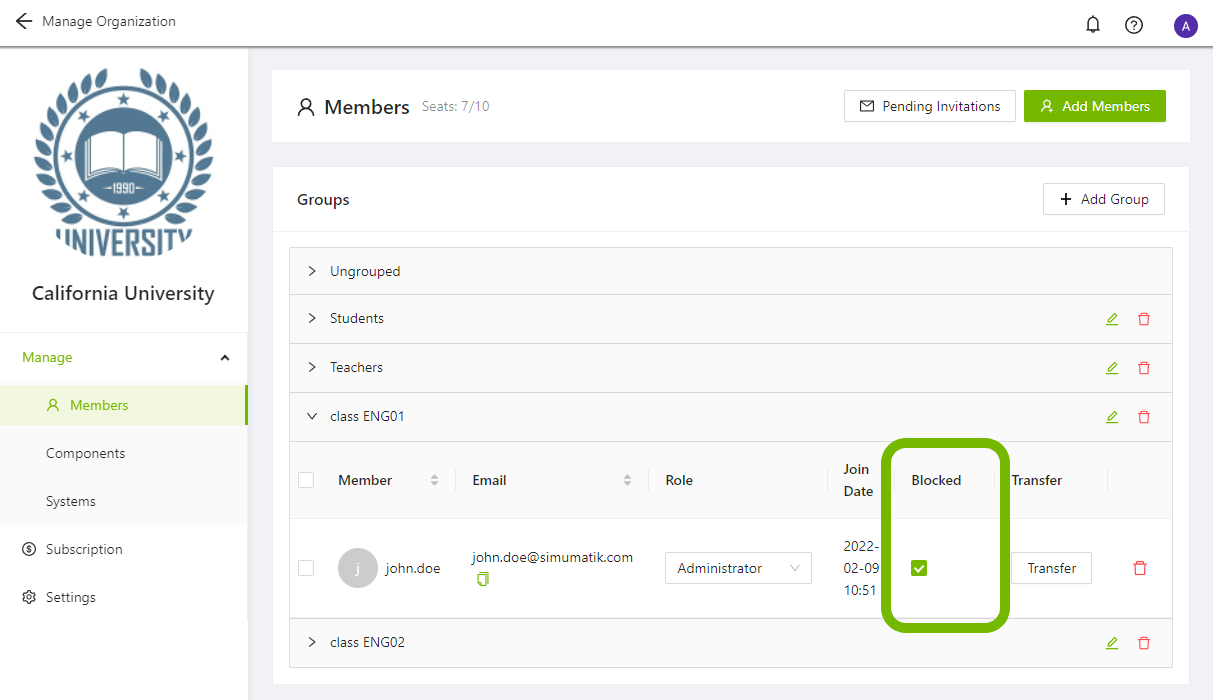
Seats show the maximal number of users that can be part of an organization. A user can be added or removed at any time to adhere to the maximal amount. By choosing the blocked property for a user the number of occupied seats is decreased. Blocked means that a user can be temporarily removed, without having to re-invite the user.
Block user
To block a user, press the checkbox in the Blocked column.
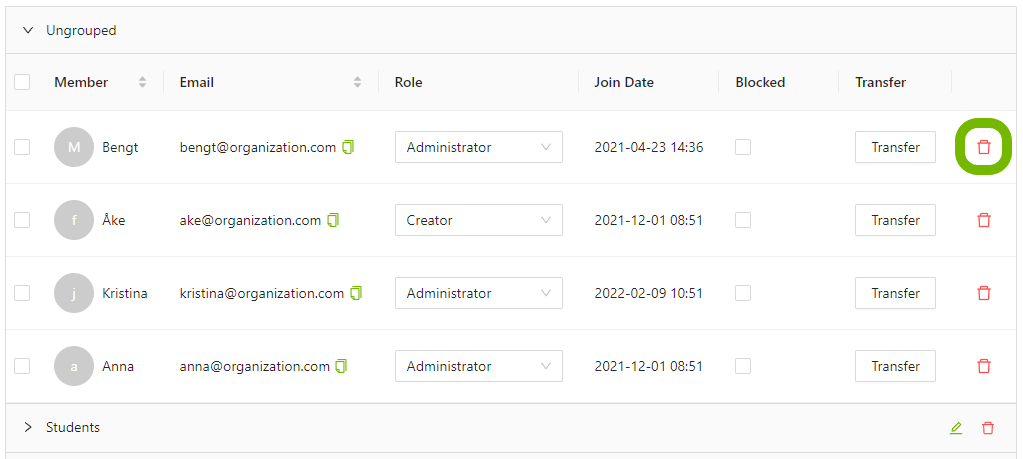
Remove user
A user can be removed by pressing the delete icon. When a user is removed, they will no longer be able to access the private contents of the organization, and the seat will be free to use for another user.
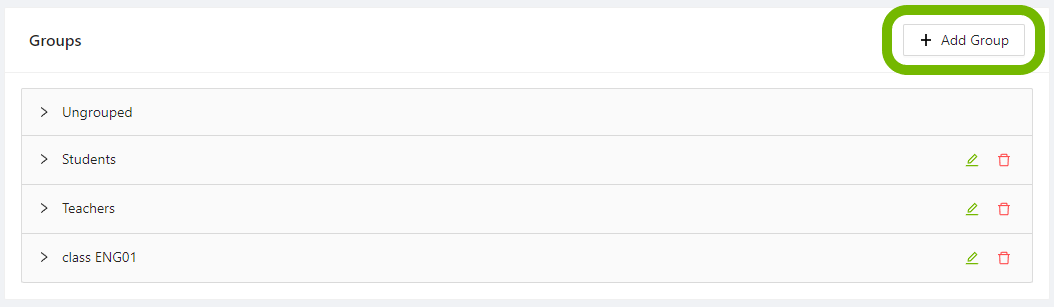
Add a user group
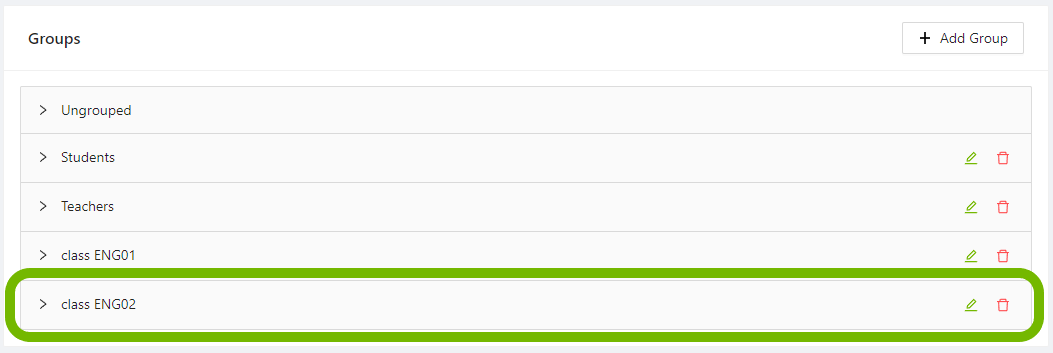
A group can be added by pressing the button Add Group. This makes it possible to sort the users in the organization by different categories, for example students or teachers.
Fill in the desired group name in the pop-up that shows, and press ok.
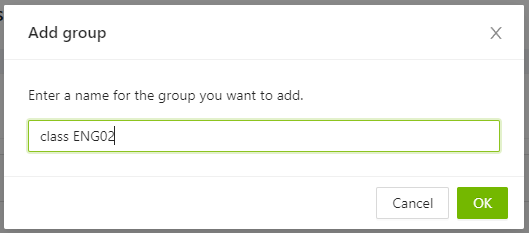
The new group is then shown in the administrator panel.
Invite users
Users with the access role Administrator or Manager can add other users to the organization by pressing the button Add members.
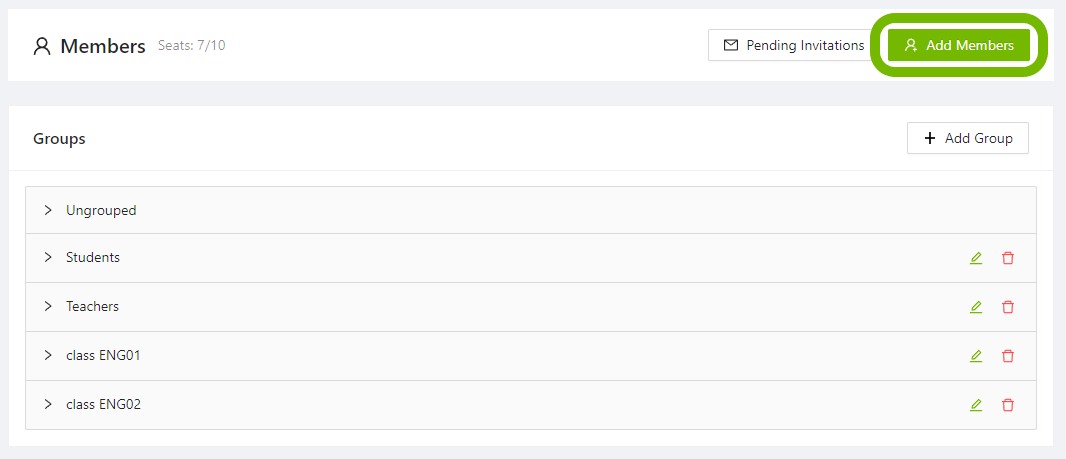
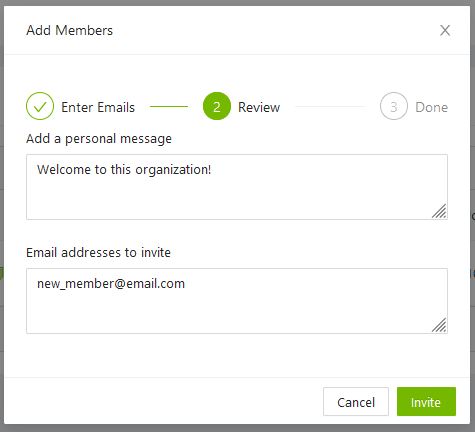
A pop-up dialog is shown. Select the group for the user to be added. To select an existing group press the arrow to see a drop-down list with the available groups, you can also add a new group once you open the list. In the lower text field, a registered user can be added. If multiple users are to be added, they can be separated by commas or a line break.

A personal invitation message can be included in the invitation. Review the information before pressing Invite.
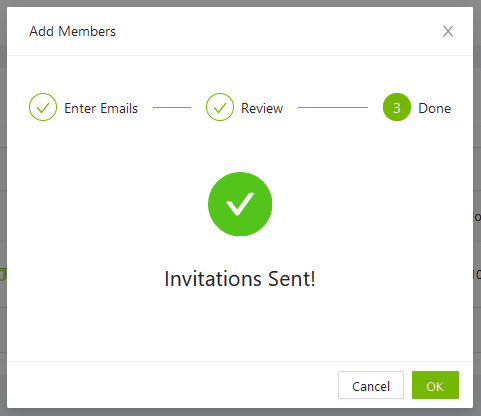
The invitations is sent.
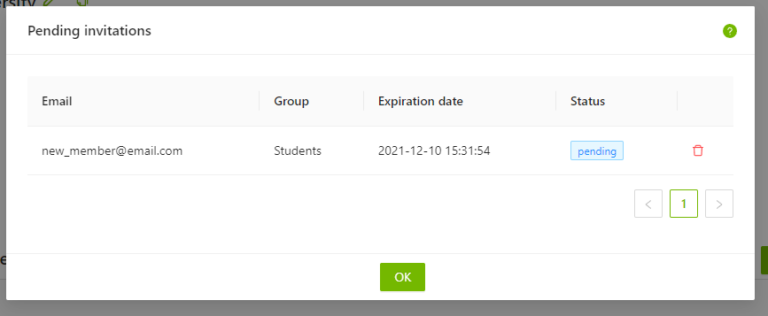
By pressing the Pending invitations button on the administrator panel status can be shown for the invited user. The invitation can be removed by pressing the remove icon.
Subscription
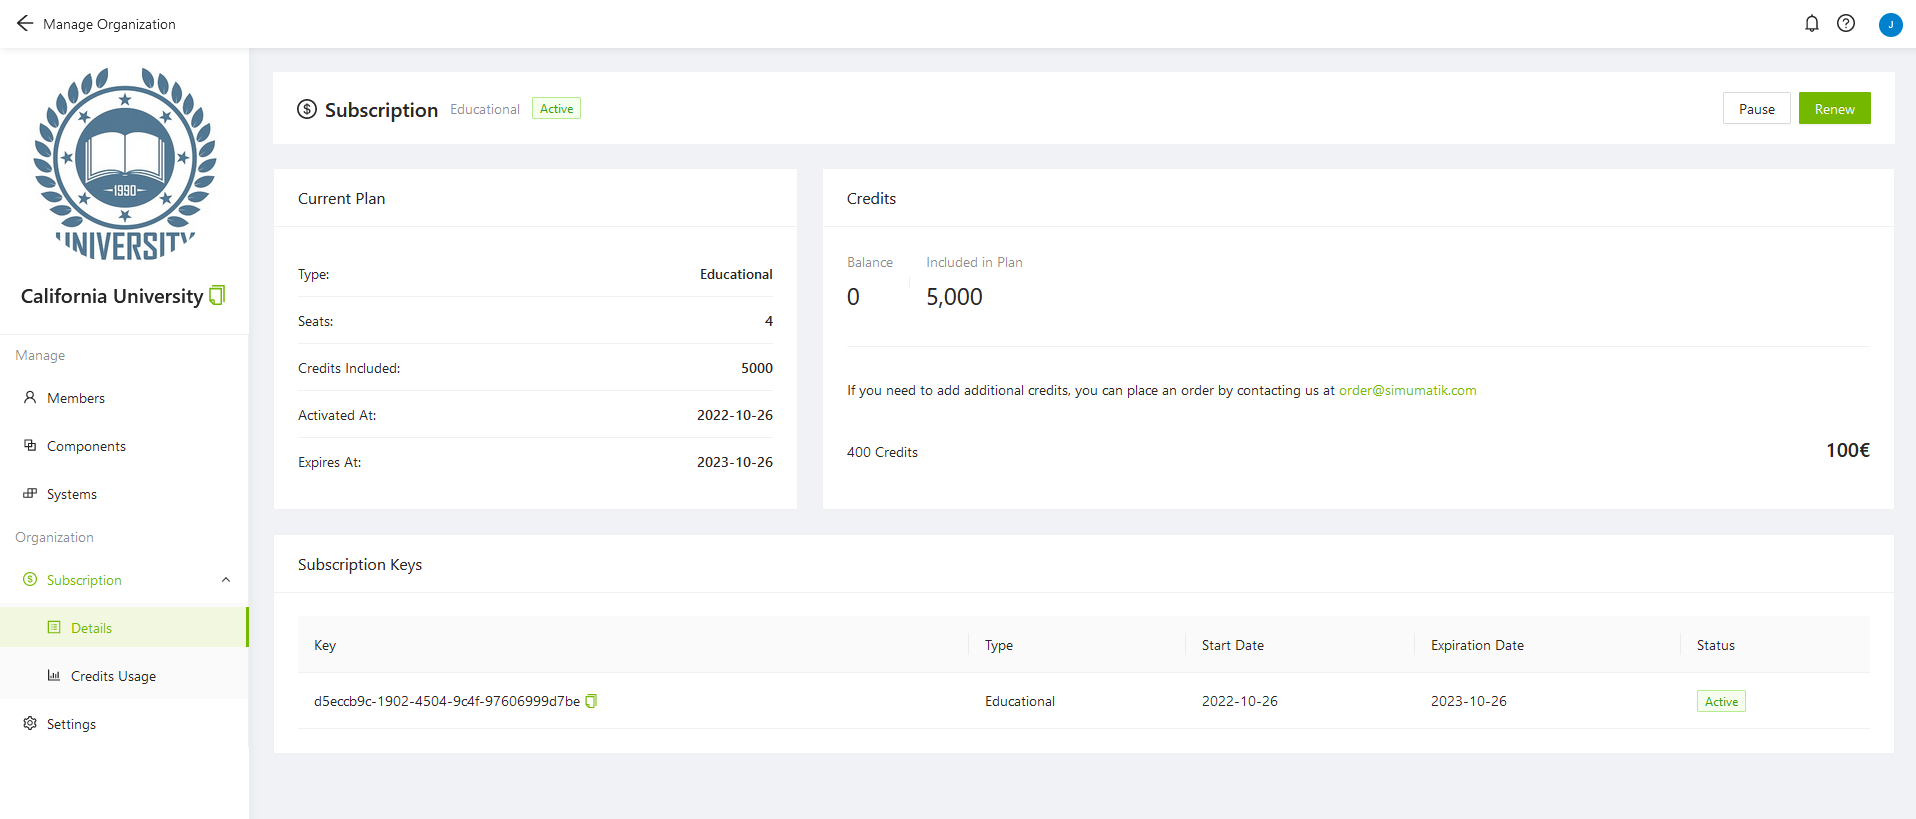
In the Subscription Details tab, administrators can manage the state of the subscription keys that have been registered for the organization and see information about the current subscription plan and credit balance.
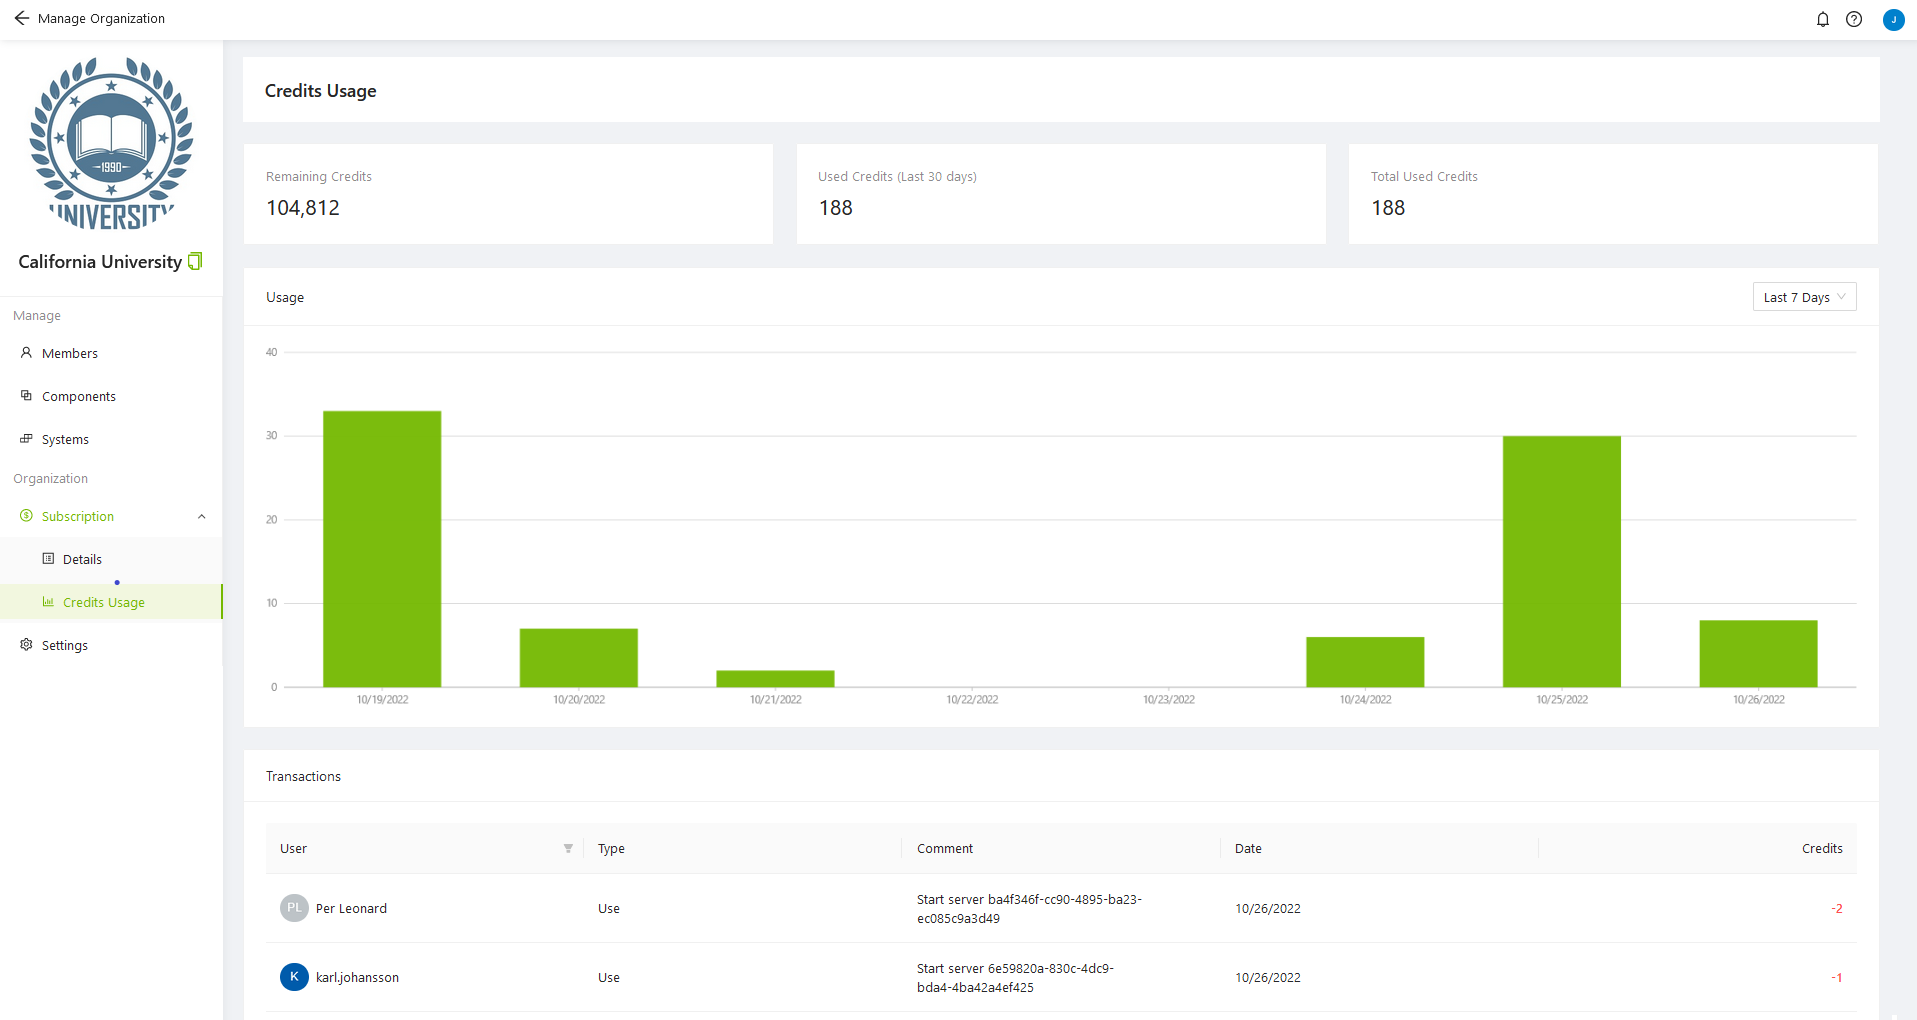
In the Subscription Credits Usage tab, administrators can see the historical use of credits.
Pause subscription
Pausing a subscription can be done a maximum of 2 times per key. By pausing the subscription during periods of time when the organization will not be used, it's possible to extend the expiration date by the same number of days that it has been paused. The subscription will automatically resume after it has been paused for 90 days.
When the subscription is paused, the access to the organization will be “blocked” for all users, like when the subscription has expired.
To pause the subscription, press the Pause button on the Subscription page.

You will be prompted to confirm that you want to pause.
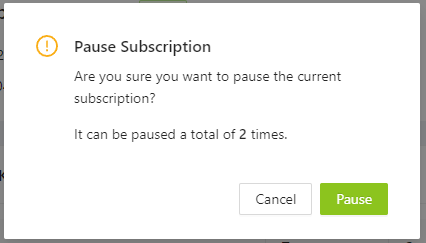
If you confirm by pressing Pause in the popup window, the status of the subscription key will be updated to "Paused".

Organization settings
The managers and administrators of an organization has the ability to change the settings of the organization. The settings that can be modified are described below. The modifications you make on this page will only be saved once you press the Save button.
![]()
Name
The name of the organization can be changed by modifying the name in this textbox.
Organization URL
Here you can provide a link to the main website of your organization.
Change logo
Here, you can view and modify the logotype of the organization. To change the logo, first remove the old one and then replace it with the new logo.